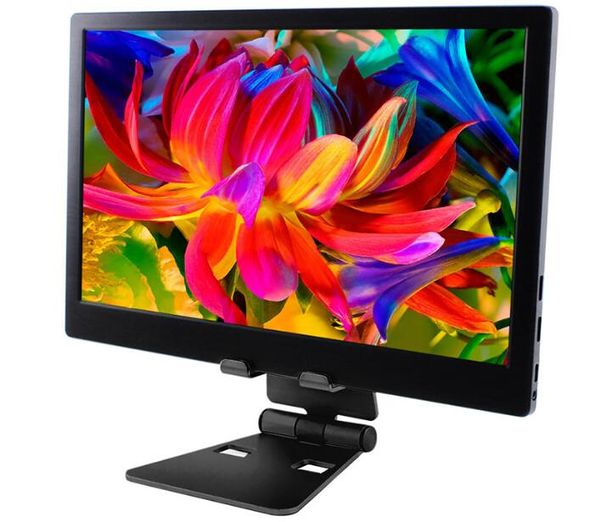
SF133M 13.3 inch 1920 x 1080 HDMI Portable Display for Raspberry Pi/ PS4/ XBOX/ NS
Description
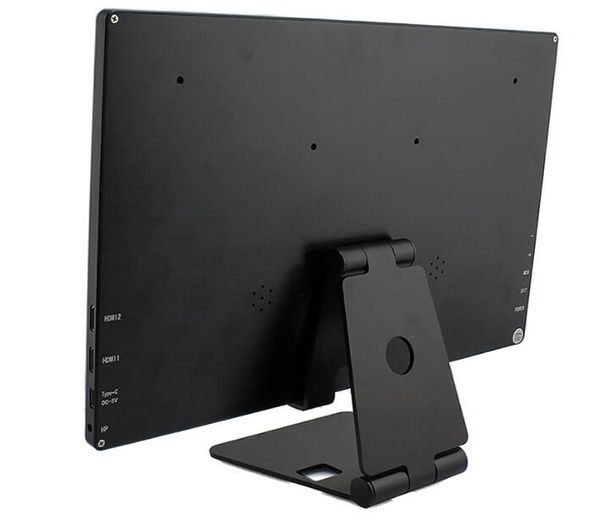
The HD 1920 X 1080 resolution and true color (16.7M) provide you a stunning color performance. The whole aluminum alloy shell can meet your requirements of beautiful appearance. It can be charged by USB3.0, 5V power bank, 5V/ 2A power adapter. There are two HDMI interfaces, 3.5mm headset jack and 75mm x 75mm wall hole on the display. It can be used as a computer screen, phone screen, wireless screen, also used as a display for Raspberry Pi, ps4, XBOX/ NS gamer. The HD 1920 X 1080 resolution and true color (
Model:SF133M
Features
- Full HD 1920 x 1080 resolution and true color (16.7M).
- Built-in sound.
- New edp full view LCD screen.
- A variety of charging methods.
- Supports 75mm x 75mm wall hole.
Specifications
- Resolution: 1920 x 1080
- Color gamut: 72%
- Dimension: 320mm x 200mm x 8mm
- Screen type: IPS TFT- LCD
- Brightness: 300cd/m2
- Contrast ratio: 800: 1
- Power voltage: 5V/ 2A ( USB type C)
- Interface type: dual mini HDMI
- Visual angle: 178 whole angle
- Screen ratio: 16: 9
- Display color: 16.7M (8bit)
- Shell material: aluminum alloy
- Color: black, blue, red
- The weight of screen: 670g
Usage
1: Connect Raspberry Pi to use
Step 1: Please download the image of the latest version from Raspberry Pi's website.
https://www.raspberrypi.org/downloads/raspbian/
Step 2: Download the compressed file to your PC and unpack it to get the .Img file.
Step 3: The TF card is connected to the PC and formatted using the SDFormatter software.
Step 4: Open the Win32DiskImager software, select the system image prepared in step 1, and click write to burn the system image.
Step 5: After the programming is completed, then insert the TF card into the Raspberry Pi.
Step 6: Connect the Mini HDMI interface of the 13.3-inch display to the HDMI interface of the Raspberry Pi.
Step 7: Use a 5V/2A power adapter to connect to the DC interface of the screen. Power on the Raspberry Pi, and wait for a few seconds to display normally.
2:Use as PC Monitor
Step 1: Connect the computer HDMI output signal to the display’s Mini HDMI interface by using the HDMI cable.
Step 21: Use the 5V/2A power adapter or Micro USB cable to power the screen with 5V/2A.

