Rainbow Shield
Description
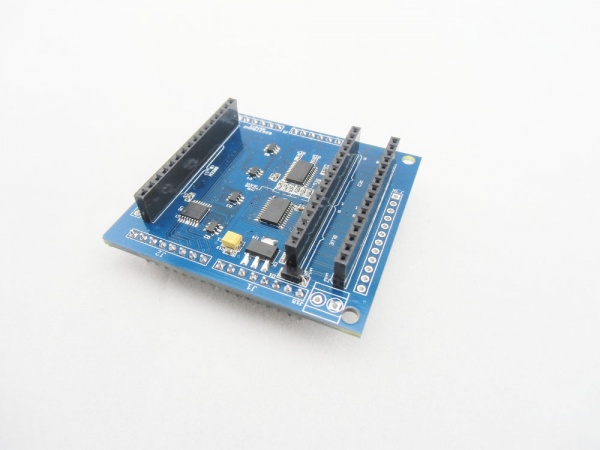
This Rainbow Shield is used to drive the LEDs components, such as the 8x8 RGB squares or the seeed rainbow cubes. With the help of Arduino/Crowduino, this shield can driver a max of 192 single color LEDs, or 64 RGB LEDs. it uses two MY9221 chips, which is 12-channels (R/G/B x 4) constant current Adaptive Pulse Density Modulation(APDM), and with the professional multiplexed LED driver library and the related power supply circuit, you can easily control your LED squares to create your idea patterns.
Model: (Discontinued)
Features
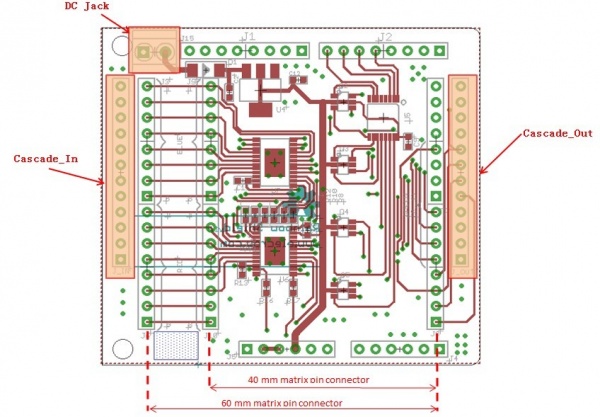
- Provides 3 x 16 pin header for connecting multiplexed LEDs. Compatible with the 60mm or 40mm LED matrix.
- Constant current(20.8mA) LEDs driver.
- Can drive 8x8 RGB LED Matrix or 192 single LEDs
- Built in 5V / 1 Ampere voltage regulator.
- Driven directly By Arduino/Crowduino.
Specification
Dimensions(mm):60.0(L)x58.0(W)x17.3(H)
| Item | Min | Typical | Max | Unit |
|---|---|---|---|---|
| Operating Voltage | 4.5 | 5 | 5.5 | VDC |
| Each Channel Curent | 20.8 | mA | ||
| maximum of RGB LED | 64 | PCS | ||
| VCC Circle | 8 | / | ||
Interface
Usage
Hardware installation motors
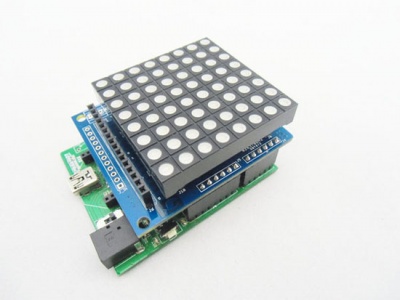
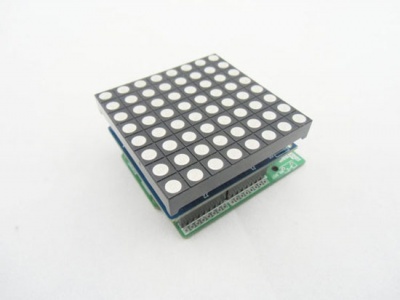
Plug the rainbow shield to your arduino/crowduino. And then Connect the RGB square to rainbow shield, the 48mm square or 60mm square would be both OK:
Programming
Let us get start, with some simple example with RGB LED Square.First, download the Rainbow shield library and unzip this this library to your Arduino IDE:\\arduino\libraries
Example 1
1.Upload the example:drawChar.ino to your arduino/crowduino , about how to upload the codes to arduino, please refer to here
#include <Rainbowduino.h>

void setup()
{
  Rb.init();
}
unsigned char x,y,z;
void loop()
{
  for(int i= 0x20; i<=0x7E; i++) //generates ASCII value of all printable characters
  {
     Rb.drawChar(i,0,1,random(0xFFFFFF));
     delay(500);
     Rb.blankDisplay();
  }
}
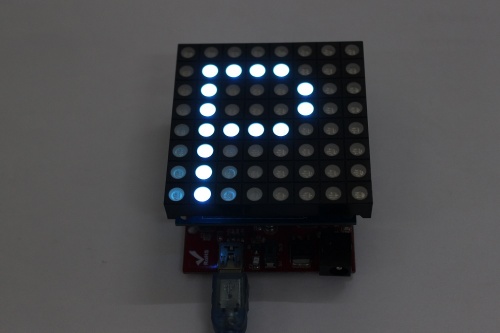
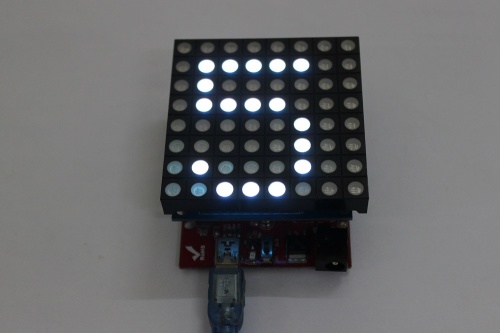
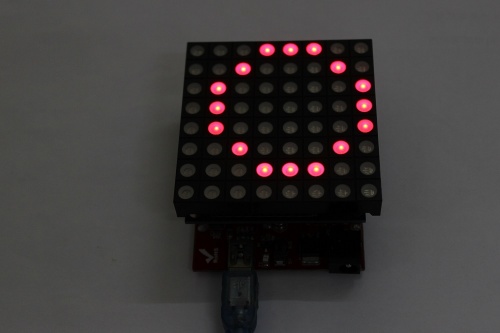
2.In this example, the Rainbow Shild drives the RGB square display ASCII value from 0x20(Space) to 0x7E(~) and updates every 0.5 seconds. you can refer to Rainbowduino.cpp in the library to know more about the functions such as the drawChar()/blankDisplay().
Example 2
1.Upload some other examples, such as the shapes.ino:
#include <Rainbowduino.h>

void setup()
{
  Rb.init();
}

unsigned char x,y,z;

void loop()
{

     Rb.drawCircle(3, 4, 3, 0xFF0000); // draw a red circle of radius 3 at (3,4).
     delay(1000);
     Rb.blankDisplay();

     Rb.fillCircle(3, 4, 2, 0x0000FF); // draw a filled blue circle of radius 2 at (3,4).
     delay(1000);
     Rb.blankDisplay();

     Rb.drawLine(0, 0, 7, 7, 0x00FF00); // draw a line from (0,0) to (7,7).
     delay(1000);
     Rb.blankDisplay();

     Rb.drawVerticalLine(0, 0, 7, random(0xFFFFFF)); // draw a vertical line from (0,0) of length 7 pixels
     delay(1000);
     Rb.blankDisplay();

     Rb.drawHorizontalLine(0, 0, 7, random(0xFFFFFF)); // draw a horizontal line from (0,0) of length 7 pixels
     delay(1000);
     Rb.blankDisplay();

     Rb.drawRectangle(0, 0, 4, 6, random(0xFFFFFF)); // draw a rectangle line from (0,0) of length 4 and width 6 pixels
     delay(1000);
     Rb.blankDisplay();

     Rb.fillRectangle(0, 0, 7, 7, random(0xFFFFFF)); // draw a filled rectangle line from (0,0) of length and width 7 pixels
     delay(1000);
     Rb.blankDisplay();

}
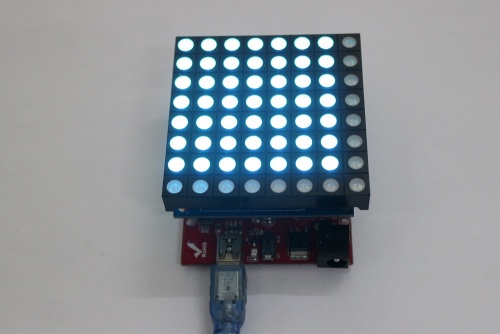
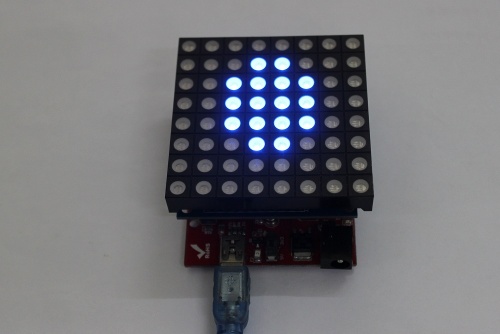
In this example, the Rainbow shiled drives the square to dispaly differenet sharps&lines, with the function:drawLine()&drawVerticalLine()&drawRectangle()..., ready to draw your own pictures with these given functions? refer to the library source code: Rainbowduino.cpp!
Support
If you have any problems,please contact with techsupport@elecrow.com.
