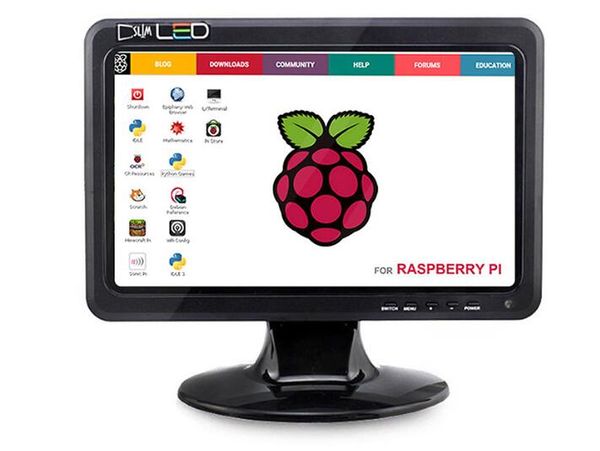
SF101R 10.1 Inch Portable HD Display for Raspberry Pi 3
Description
Our 10.1inch portable HD display is super powerful of 16:9 standard and brand-new LED LCD screen with many interfaces of HDMI+VGA+AV+TV+USB. You could apply it as the computer display, video monitor, PS¾/XBOX game display and video player and so on. Besides you could also enjoy its high panel brightness of 400cd/m2 and fast response time of 13/12 (TYP) (Tr/Td) (ms). Moreover, the 10.1 inch HD display runs with high resolution, audio, remote- control and stereo speaker at a wide range of -30℃to +50℃working environment temperature which all could share you comfortable and convenient using experience.
Model:SF101R
Features
- Remote control, by an exquisite infrared remote controller
- A wide range of -30℃ to +50℃ working environment temperature
- With audio output and compatible with speakers and headphones
- High resolution of 1024x600, up to 1080p for you to enjoy clearer pictures and movies
- LED LCD screen and Stereo speaker to bring you better visual and sound effects
Specifications
- Panel Size: 10.1 inches
- Aspect ratio: 16: 9 (width: height)
- Spanel brightness: 400cd / m²
- Contrast: 800: 1 (Min) (transmission)
- Resolution: 1024x600, up to 1080p
- Viewing angle: 89/89/89/89 (left/right/up/down)
- Liquid crystal appearance size: 233.8mm x 138.5mm
- Display area: 222.52 x 125.11mm
- Working environment temperature: -30℃--+50℃
- Display mode: Constant black display, transmission type
- Display color: 262K/16.7M (6-bit/6-bit+Hi-FRC)
- Response time: 13/12 (TYP) (Tr/Td)(ms)
Usage
1: Connect Raspberry Pi to use
Step 1: Please download the image of the latest version from Raspberry Pi's website.
https://www.raspberrypi.org/downloads/raspbian/
Step 2:Download the compressed file to your PC and unpack it to get the .Img file.
Step 3:The TF card is connected to the PC and formatted using the SDFormatter software.
Step 4:Open the Win32DiskImager software, select the system image prepared in step 1 and click write to burn the system image.
Step 5:After the programming is completed, then insert the TF card into the Raspberry Pi.
Step 6:Connect the HDMI port of the 10.1-inch screen to the HDMI port of the Raspberry Pi.
Step 7:Connect the 12V power adapter to the DC interface on the screen. Then power on the Raspberry Pi, and wait for a few seconds to display normally.
2:Use as PC Monitor
Step 1: Connect the computer HDMI output signal to the display's HDMI interface by using the HDMI cable.
Step 2:Connect the 12V power adapter to the DC interface on the screen.
Step 3:Then it can display normally.
