SF116 11.6 Inch 1920x1080 HDMI 1080P LED Display for Raspberry Pi
Description
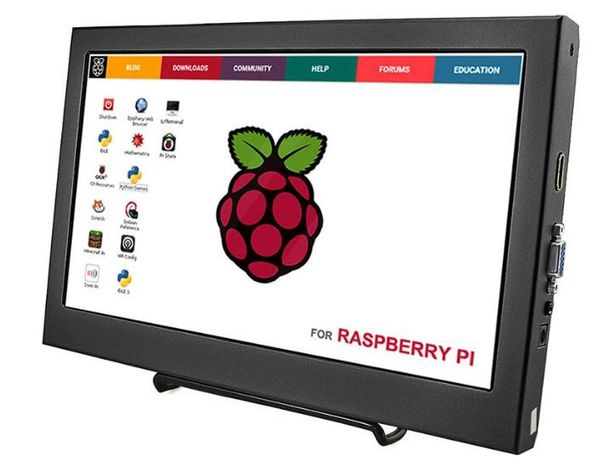
HDMI PS3 PS4WiiU xbox360 is an aluminum-based HD resolution gaming monitor. Its good sound quality, clear quality, good heat dissipation, with metal texture, design reasonable, beloved by the majority of game enthusiasts, model shooting lovers. Besides, it has automatic recognition function with HDMI/VGA of the input port and its backlight brightness can be adjusted, which is widely used in our daily lives such as used as medical equipment display or industrial equipment, car video and car headrest monitor etc, at the same time, it can compatible PS3 PS4 XBOX360 Raspberry pi. This product is in line with industrial equipment and home entertainment audio and video display, is definitely a good choice.
Model:SF116
Features
- Metal texture
- Adopted imported TFT LCD
- High definition and good sound quality
- Clear picture quality, IPS wide-color gamut
- Aluminum alloy material,durability,good heat dissipation
Specifications
- Display Technology: LED Display
- Screen Size: 11.6 inches
- Aspect ratio: 16: 9 (width: height)
- Panel brightness: 350cd / m²
- Contrast: 800: 1 (Min) (transmission)
- Resolution: 1920X1080, up to 1080p
- Viewing angle: 170 degrees wide viewing angle
- Appearance size: 288mm x 185mmX25mm
- Display area: 257mmx 115mm
- Working environment temperature: -30℃--+50℃
- Display mode: Constant black display, transmission type
- Display color: 262K/16.7M (6-bit/6-bit+Hi-FRC)
- Response time: 13/12 (TYP) (Tr/Td)(ms
- Two colors to choose: black and gold
Usage
1: Connect Raspberry Pi to use
Step 1: Please download the image of the latest version from Raspberry Pi's website.
https://www.raspberrypi.org/downloads/raspbian/
Step 2: Download the compressed file to your PC and unpack it to get the .Img file.
Step 3: The TF card is connected to the PC and formatted using the SDFormatter software.
Step 4: Open the Win32DiskImager software, select the system image prepared in step 1, and click write to burn the system image.
Step 5: After the programming is completed, then insert the TF card into the Raspberry Pi.
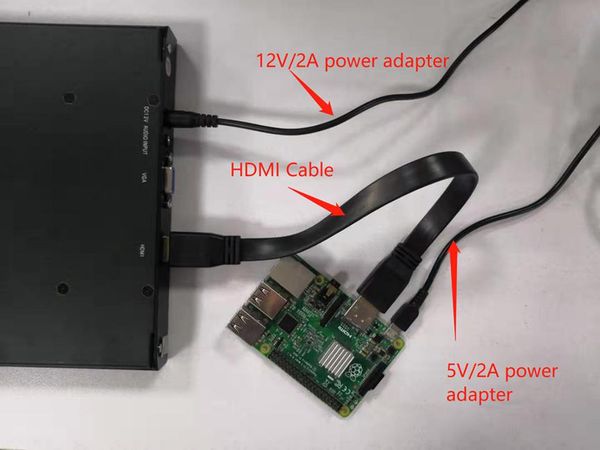
Step 6: Connect the HDMI interface of the 11.6-inch screen to the HDMI interface of the Raspberry Pi.
Step 7: Connect the 12V/2A power adapter to the DC interface on the screen. Then power on the Raspberry Pi, and wait for a few seconds to display normally.

2:Use as PC Monitor
Step 1: Connect the computer HDMI output signal to the display’s HDMI interface by using the HDMI cable.
Step 2: Connect the 12V/2A power adapter to the DC interface on the screen.
Step 3: Then it can display normally.
