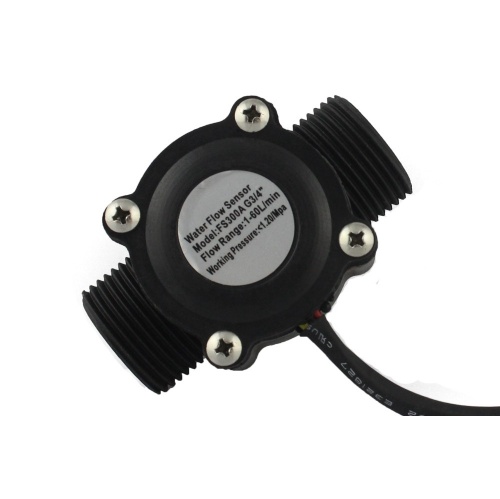
Crowtail- G3/4" Water Flow Sensor
Description
Crowtail G¾ "water flow sensor Water flow sensor consists of magnetic core, rotating impeller, external casing and sensor and a hall-effect sensor. When water flows through the rotor, rotor rolls, it activates the magnetic core to trigger switch action speed changes with different rate of flow. The hall-effect sensor outputs the corresponding pulse signals, users can get the flow speed via detecting the pulse. It is suitable to detect flow in water dispenser or coffee machine.
There are also lots of other water flow sensors in other diameters for your choice. The water flow sensor outputs pulse proportional to the water flow with: Pulse Frequency = Flow* 5.5.That is, if the output frequency is 48, then the water flow: 48/5.5= 8.72(L/min)
Model: CT008134W
Feature
- Working Voltage: 5V~24V
- Flow Rate Range: 0.3~6L/min
- Crowtail Interface
- Easy to use
specification
- Max. Working Current: 15mA (DC 5V)
- Load Capacity: ≤10mA (DC 5V)
- Operating Temperature: ≤80℃
- Liquid Temperature: ≤120℃
- Operating Humidity: 35%~90%RH
- Water Pressure: ≤2.0MPa
- Storage Temperature: -25~+ 80℃
- Storage Humidity: 25%~95%RH
- Dimensions(mm):66.7(L)x42.0(W)x38.0(H)
Usage
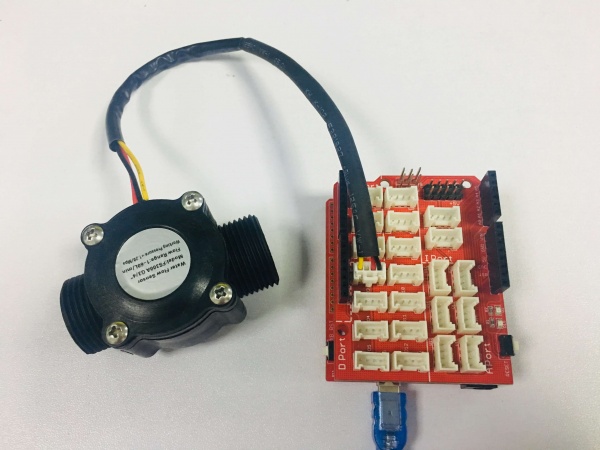
Here is an example showing how to turn on the Crowtail- G¾" Water Flow Sensor.
1. Plug it onto the Digital port 2 of Crowtail - Base Shield using a Crowtail cable.
2.Plug the Crowtail - Base Shield onto Arduino.
3. Connect Arduino to PC by using a USB cable.
4.Let the water flow connect to a water pipe.
5. Copy and paste code below to a new Arduino sketch, and upload it to your Arduino.
  volatile int NbTopsFan; //measuring the rising edges of the signal
int Calc;
int hallsensor = 2;    //The pin location of the sensor

void rpm ()     //This is the function that the interupt calls
{
  NbTopsFan++;  //This function measures the rising and falling edge of the

hall effect sensors signal
}
// The setup() method runs once, when the sketch starts
void setup() //
{
  pinMode(hallsensor, INPUT); //initializes digital pin 2 as an input
  Serial.begin(9600); //This is the setup function where the serial port is initialised,

  attachInterrupt(0, rpm, RISING); //and the interrupt is attached
}
// the loop() method runs over and over again,
// as long as the Arduino has power
void loop ()
{
  NbTopsFan = 0;   //Set NbTops to 0 ready for calculations
  sei();      //Enables interrupts
  delay (1000);   //Wait 1 second
  cli();      //Disable interrupts
  Calc = (NbTopsFan * 60 / 5.5); //(Pulse frequency x 5.5) / 98Q, = flow rate in L/hour

  Serial.print (Calc, 1); //Prints the number calculated above
  Serial.print (" L/hour\r\n"); //Prints "L/hour" and returns a  new line
}
6.When you upload the code complete,you can measure the water flow rate and see the result via the serial port debug window

