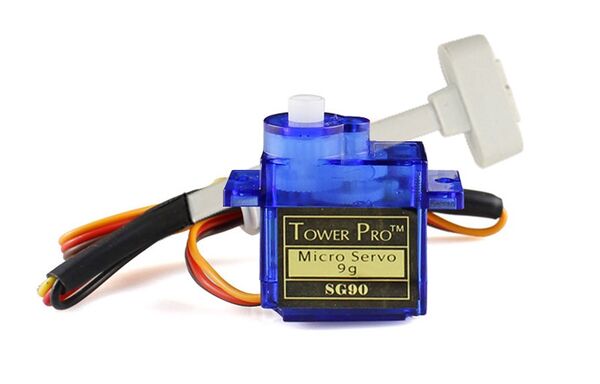
Crowbits-9G Servo
Description
The module is a high quality, low-cost servo for all your mechatronic needs. It comes with a 3-pin power and control cable, mounting hardware. Hope you can make your work easier by using it.
Features
- Easy to use
Specification
- Compatible with Crowbits
- Operating Voltage: 3.3V
Usage
The following sketch demonstrates a simple application of the module.
1.You need to prepare a Crowbits motherboard, such as Crowbits-UNO board.
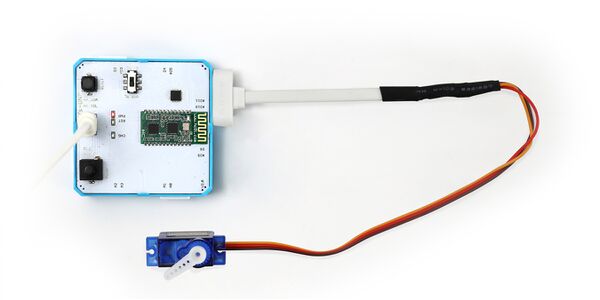
2.Connect the module to the D11 interface of the Crowbits-UNO board, as shown in the figure:
3.Download the library “Servo”. Unzip and put it in the libraries file of the Arduino IDE, for example: C:\Program Files (x86)\Arduino\libraries.
4. Upload the following code to the Crowbits-UNO board.
// Sweep
// by BARRAGAN <http://barraganstudio.com>
// This example code is in the public domain.
#include <Servo.h>

Servo myservo;  // create servo object to control a servo
                // a maximum of eight servo objects can be created

int pos = 0;    // variable to store the servo position

void setup()
{
  myservo.attach(11);  // attaches the servo on pin 11 to the servo object
}


void loop()
{
  for(pos = 0; pos < 180; pos += 1)  // goes from 0 degrees to 180 degrees
  {                                  // in steps of 1 degree
    myservo.write(pos);              // tell servo to go to position in variable 'pos'
    delay(15);                       // waits 15ms for the servo to reach the position
  }
  for(pos = 180; pos>=1; pos-=1)     // goes from 180 degrees to 0 degrees
  {
    myservo.write(pos);              // tell servo to go to position in variable 'pos'
    delay(15);                       // waits 15ms for the servo to reach the position
  }
}
5.After the upload is successful, you can see the steering gear is turning.

