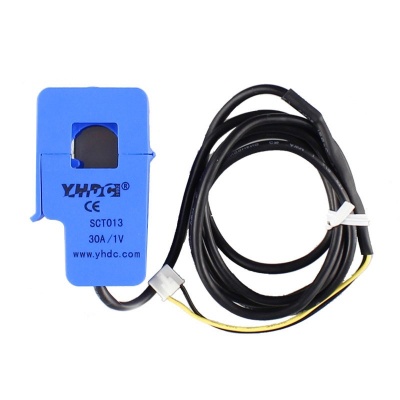
Crowtail- Current Sensor Kit
Description
A NEW member of our Crowtail, believe it can promote your work efficiency. The AC current sensor is based on Current transformers, it transforms the big AC current to little, and then convert to voltage with the build-in resistor so users can get the AC current value via measuring the output voltage with any microcontroller such as Arduino. The split core type makes this sensor suitable for DIY usage such as energy monitoring for house & building.
Model: CT0065CSK
Feature
- Crowtail compatible interface
- Input Current: 0~30A AC
- Output Mode: 0~1V
- Non-linearity: ±1%
- Turn Ratio: 1800:1
- Resistance Grade: Grade B
- Work Temperature: -25°C ~ ﹢70°C
- Dielectric Strength(between shell and output): 1000V AC/1min 5mA
- Leading Wire in Length: 1m
- Building sample resistance: 62 ohm
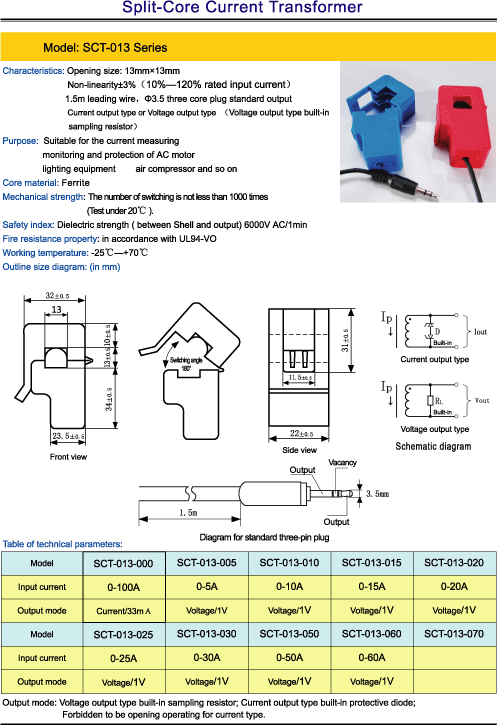
Specification
Usage
With Arduino
The following sketch demonstrates a simple application of measuring the amplitude of the alternating voltage.The SIG pin will output a alternating voltage based on the alternating current being measured. You can measure the value using ADC.
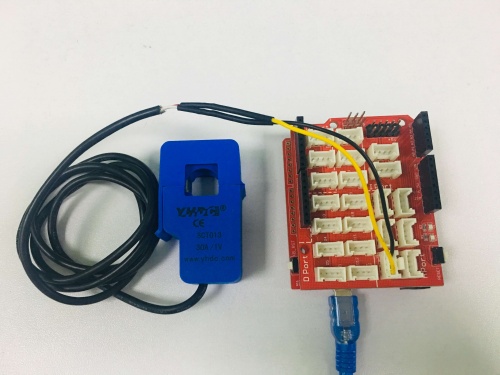
- Connect the module to the analog A0 of Crowtail base board.
- Put the alternating current wire through the hole of the current transformer.
- Copy and paste code below to a new Arduino sketch.
#define ELECTRICITY_SENSOR A0 // Analog input pin that sensor is attached to

float amplitude_current;               //amplitude current
float effective_value;       //effective current

void setup()
{
    Serial.begin(9600);
    pins_init();
}
void loop()
{
    int sensor_max;
    sensor_max = getMaxValue();
    Serial.print("sensor_max = ");
    Serial.println(sensor_max);
    //the VCC on the Crowtai interface of the sensor is 5v
    amplitude_current=(float)sensor_max/1024*5/800*2000000;
    effective_value=amplitude_current/1.414;//minimum_current=1/1024*5/800*2000000/1.414=8.6(mA)
                        //Only for sinusoidal alternating current
    Serial.println("The amplitude of the current is(in mA)");
    Serial.println(amplitude_current,1);//Only one number after the decimal point
    Serial.println("The effective value of the current is(in mA)");
    Serial.println(effective_value,1);
}
void pins_init()
{
    pinMode(ELECTRICITY_SENSOR, INPUT);
}
/*Function: Sample for 1000ms and get the maximum value from the SIG pin*/
int getMaxValue()
{
    int sensorValue;             //value read from the sensor
    int sensorMax = 0;
    uint32_t start_time = millis();
    while((millis()-start_time) < 1000)//sample for 1000ms
    {
        sensorValue = analogRead(ELECTRICITY_SENSOR);
        if (sensorValue > sensorMax)
        {
            /*record the maximum sensor value*/
            sensorMax = sensorValue;
        }
    }
    return sensorMax;
}
- Upload the code, please click here if you do not know how to upload.
Note: The minimum effective current that can be sensed by the code can be calculated using the equation below. minimum_current=1/1024*5/800*2000000/1.414=8.6(mA).
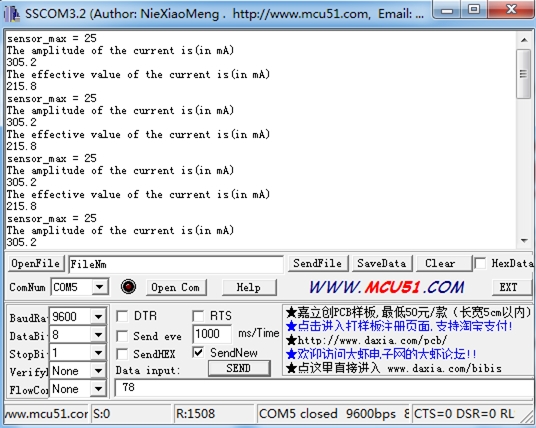
- Open the serial monitor, The results is as follows:


