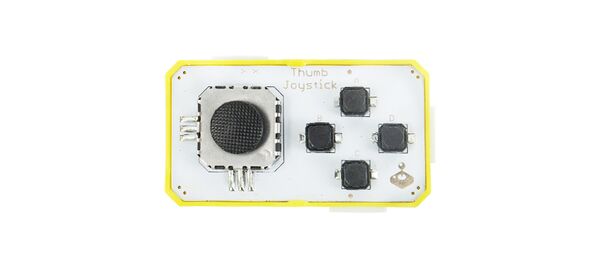
Crowbits-Thumb Joystick
Description
It is composed of two sliding rheostats of X-axis and Y-axis, which can control the operated object or object to move left, right, up and down. There is a sliding resistor on the left and bottom of the rocker. When there is no sliding, the rocker is at the middle 0 point. When the rocker is moved up and down, the sliding resistance in the left direction starts to move, and the resistance value changes When the joystick is moved to the left and right, the resistance value of the lower sliding resistance changes. The main control device will read these two values to judge the change of the joystick, and you can determine in which direction the joystick moves.
Features
- Analog output (Maximal value will be got when the button is pushed)
- Easy to use
Specification
- Operating Voltage: 3.3V DC
- Dimensions: 56(L)*31(W)*13(H)mm
Usage
The following sketch demonstrates a simple application of the module.
1. You need to prepare a Crowbits motherboard, such as Crowbits-UNO board.
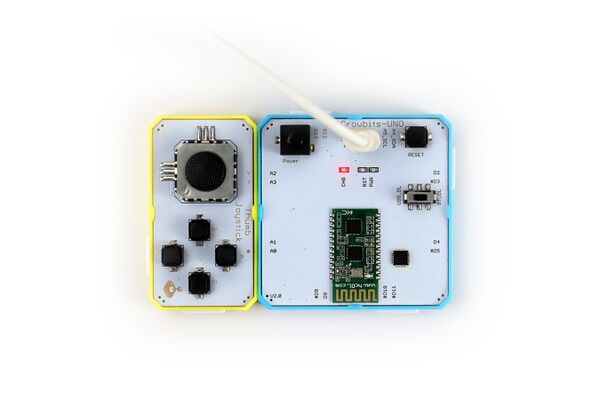
2. Connect the module to the A2 and A3 interface on the Crowbits-UNO board, as shown in the figure:
3. Upload the following code to the Crowbits-UNO board
int joystick_x = 0;
int joystick_y = 0;
int key_value = 0;

void setup()
{
  Serial.begin(9600);
}


void loop()
{
  joystick_scan();
  key_scan();
  delay(200);
}

void joystick_scan()
{
  joystick_x = analogRead(A3);
  joystick_y = analogRead(A2);
  Serial.println(joystick_x);
  Serial.println(joystick_y);
  if ((joystick_x < 535) && (joystick_y > 760))
  {
    Serial.println("UP");
  }
  if ((joystick_x < 535) && (joystick_y < 260))
  {
    Serial.println("DOWN");
  }
  if ((joystick_x > 760) && (joystick_y < 535))
  {
    Serial.println("LEFT");
  }
  if ((joystick_x < 280) && (joystick_y < 535))
  {
    Serial.println("RIGHT");
  }
}

void key_scan()
{
  key_value = analogRead(A0);
  //Serial.println(key_value);
  if ((key_value < 890) && (key_value > 850))
  {
    Serial.println("K1 Button press");
  }
  if ((key_value < 365) && (key_value > 325))
  {
    Serial.println("K2 Button press");
  }
  if ((key_value < 60) && (key_value > 20))
  {
    Serial.println("K3 Button press");
  }
  if ((key_value < 540) && (key_value > 500))
  {
    Serial.println("K4 Button press");
  }
}
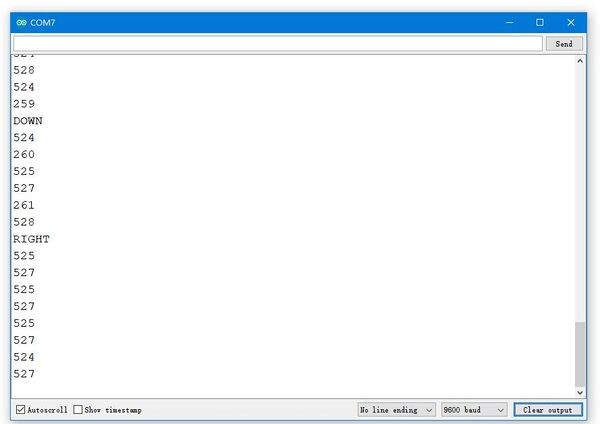
4. After the upload is successful, open the serial port monitor, the baud rate is set to 9600. By shaking the remote sensing, you can see the direction and position information of the serial port printing.


