Crowtail- 315Mhz RF Receiver with Transmitter
Description
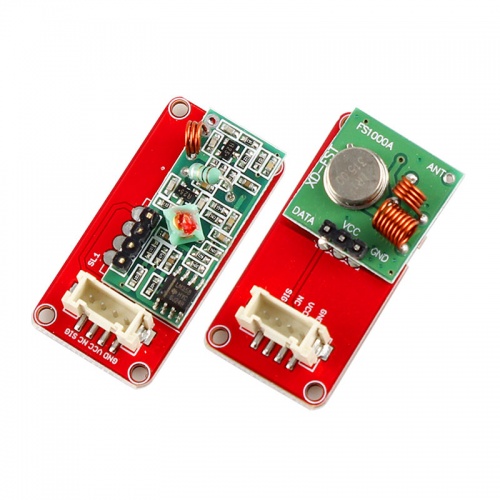
Crowtail- 315Mhz RF Receiver with Transmitter consists of two parts,Transmitter and Receiver. It uses 315Mhz simplex wireless communication. This Crowtail is small, affordable and easy to carry, suitable for indoor and outdoor wireless communication systems, and anti-theft systems, household appliances .....
Model: CRT02059R
Features
- Communication: AM
- Operating frequency: 315MHz
- Frequency stability: ± 75KHZ
- Transmitting power: ≤ 500MW
- Quiescent current: ≤ 0.1UA
- Emission current: 3 ~ 50MA
- Operating voltage: DC 3 ~ 12V
Specification
Dimensions(mm):40.0(L)x20.0(W)x9.8(H)
| Item | Description |
|---|---|
| LED Control Mode | Digital Pin of Arduino |
| Working Voltage | 5V |
| Supply Mode | Crowtail Interface |
Usage
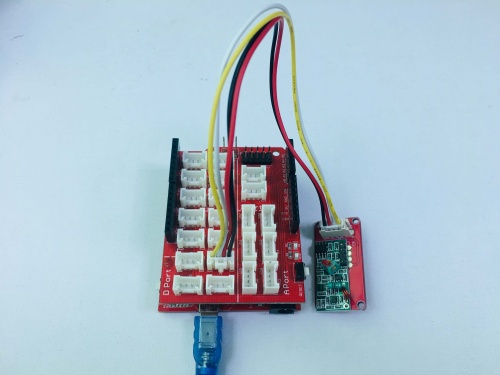
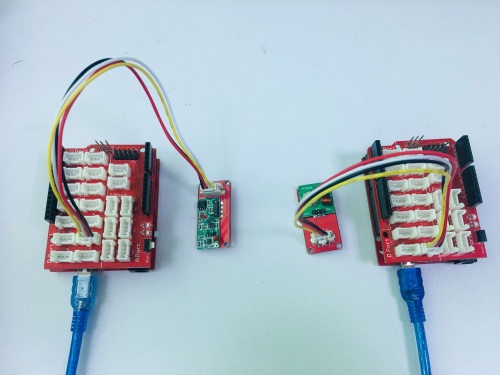
1. Connect the Crowtail-315M-receiver to Base Shield's digital port 11 with Crowtail Cable.
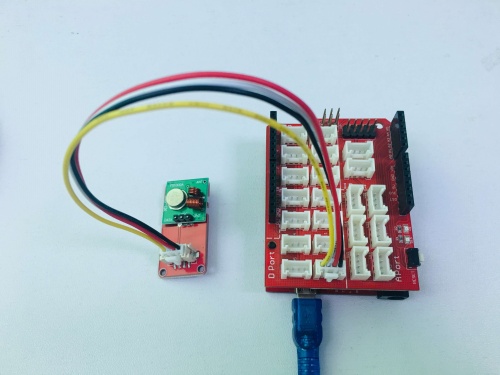
2. Connect the Crowtail-315M-transmitter to Base Shield's digital port 12 with Crowtail Cable.
3.Plug it onto the Arduino/Crowduino. Connect the board to PC using USB cable.
4.Download *VirtualWire library for Crowduino boards,Unzip and put it in the libraries file of Arduino IDE by the path: ..\arduino-1.0\libraries;
5.Download the Receiver code to Crowtail with Crowntail-NFC-Receiver connected,then upload to Arduino or Crowduino board.
// receiver.pde
/*
static uint8_t vw_rx_pin = 11;

// The digital IO pin number of the transmitter data
static uint8_t vw_tx_pin = 12;
*/
#include <VirtualWire.h>
#undef int
#undef abs
#undef double
#undef float
#undef round
void setup()
{
    Serial.begin(9600); // Debugging only
    Serial.println("setup");

    // Initialise the IO and ISR
    vw_set_ptt_inverted(true); // Required for DR3100
    vw_setup(2000);  // Bits per sec

    vw_rx_start();       // Start the receiver PLL running
}

void loop()
{
    uint8_t buf[VW_MAX_MESSAGE_LEN];
    uint8_t buflen = VW_MAX_MESSAGE_LEN;

    if (vw_get_message(buf, &buflen)) // Non-blocking
    {
    int i;

        digitalWrite(13, true); // Flash a light to show received good message
    // Message with a good checksum received, dump it.
    Serial.print("Got: ");

    for (i = 0; i < buflen; i++)
    {
        Serial.print(char(buf[i]));
        Serial.print(" ");
    }
    Serial.println("");
        digitalWrite(13, false);
    }
}
6.Download the Transmitter code to Crowtail with Crowntail-NFC-Transmitter connected,then upload to Arduino or Crowduino board.
// transmitter.pde
/*
static uint8_t vw_rx_pin = 11;

// The digital IO pin number of the transmitter data
static uint8_t vw_tx_pin = 12;
*/
#include <VirtualWire.h>
#undef int
#undef abs
#undef double
#undef float
#undef round
void setup()
{
    Serial.begin(9600);   // Debugging only
    Serial.println("setup");

    // Initialise the IO and ISR
    vw_set_ptt_inverted(true); // Required for DR3100
    vw_setup(2000);  // Bits per sec
}

void loop()
{
    const char *msg = "hello";

    digitalWrite(13, true); // Flash a light to show transmitting
    vw_send((uint8_t *)msg, strlen(msg));
    vw_wait_tx(); // Wait until the whole message is gone
    Serial.println("hello");
    digitalWrite(13, false);
    delay(200);
}
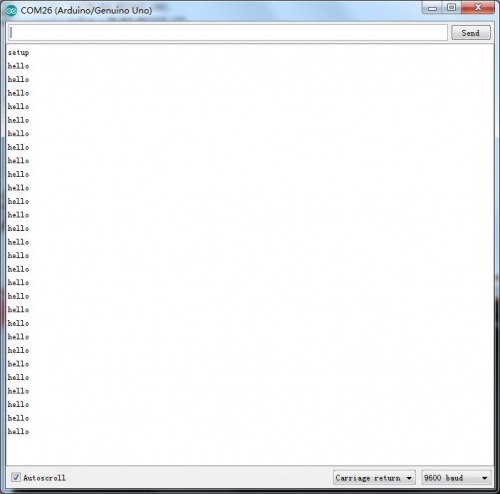
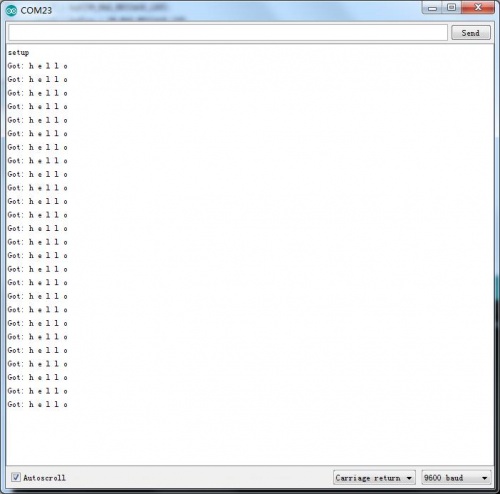
7.After successfully upload the code. You can open the monitor and see the data from Arduino, as below:
a.Transmitter:
b.Receiver:
