HDMI Interface 5 Inch 800x480 TFT Display
Description
Friendly Reminder: In the past deliveries, there is a CD with outdated driver. Please ignore the CD, we won't put the CD in the next deliveries. Download the latest driver from this page.
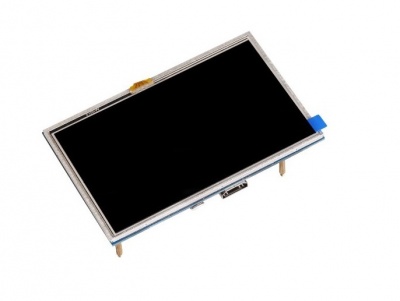
This 5 inch TFT Display with Touch Screen is a mini panel-mountable HDMI monitor. So small and simple, but you can use this display with any computer that has HDMI output, and the shape makes it easy to attach to a electronic product. Although the 800x480 common HDMI display is made for Raspberry Pi, we can use it other where not only for Raspberry Pi.
Model:RPA05010R
Features
- A good solution for those seeking for a bigger resolution display
- Good touch response
- Large viewing angle
- Fast response time
- Support backlight control alone
- Not only for Raspberry Pi
- Not only for mini-PCs, it can work as a computer monitor
- With detail user guide and image
Specifications
- 5 inch TFT Resistive touch screen display, 800x480 Resolution
- HDMI input
- Usb touch and power, 5V@1A
- Touch: 4-wire resistive touch
- Lcd driver IC: ILI9486L
- Refresh rate:60HZ
- Lcd Size :121.11mm*77.93mm
- Weight:175g
Interface Function
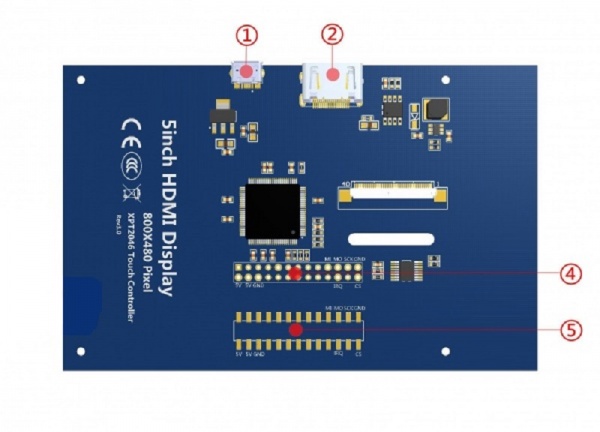
 ① USB interface:Get 5V Power from USB,If ④-13*2 Pin Socket has been connected, that this USB interface can be No Connect.
② HDMI interface:For HDMI transmission.
③ Backlight Power switch:Controls the backlight turned on and off to save power.
④ 13*2 Pin Socket:Get 5V Power from raspberry Pi to LCD, at the same time transfer touch signal back to raspberry Pi.
⑤ extended interface:extended The ④-13*2 Pin Socket signal Pin-to-Pin.
Usage
Our 5 inch screen supports Raspbian,Ubuntu Mate,Kali Linux and Retropie system for Raspberry Pi.If you use it on PC or others that the touch function is unable to use.
And next, we will teach you how to install the driver for your raspberry pi OS. If no system in your SD card, please refer to the Raspberry Pi office tutorial.
Step1: Install the 5 inch LCD
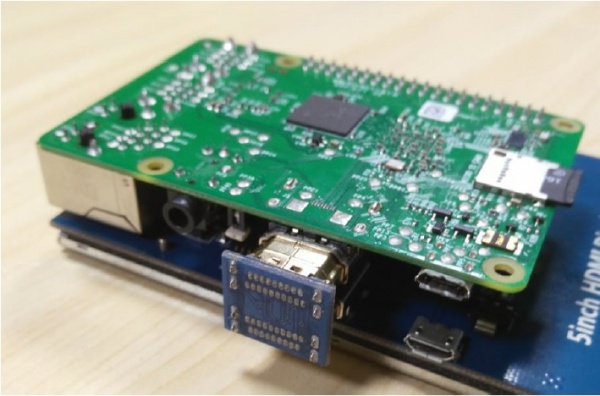
Install the 5 inch LCD to Raspberry-Pi 3B/2B/B+ board as below: 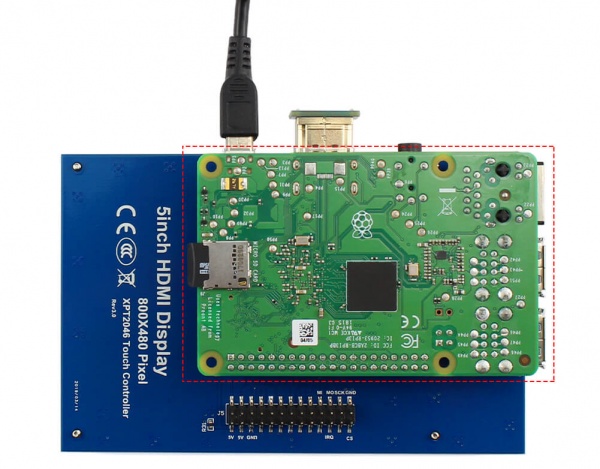
Step2: Modify your config.txt file
Tips: If you use SSH to control Pi,please skip this step.
Insert the SD card to your Windows/Mac PC. Find the config.txt in the SD`s root and open it. Then add the following code in the end.
# --- added by elecrow-pitft-setup  ---
hdmi_force_hotplug=1
max_usb_current=1
hdmi_drive=1
hdmi_group=2
hdmi_mode=1
hdmi_mode=87
hdmi_cvt 800 480 60 6 0 0 0
dtoverlay=ads7846,cs=1,penirq=25,penirq_pull=2,speed=50000,keep_vref_on=0,swapxy=0,pmax=255,xohms=150,xmin=200,xmax=3900,ymin=200,ymax=3900
display_rotate=0
# --- end elecrow-pitft-setup  ---
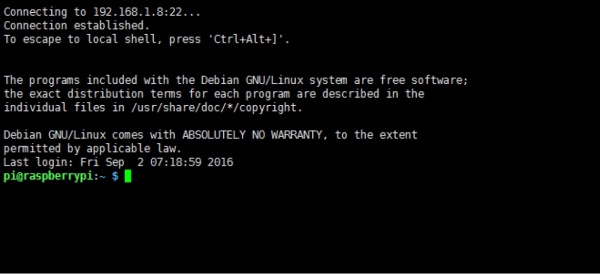
Step3: Power ON and open terminal
Tips: When the Raspberry startup, it can normal display and next step you need to install the driver.
Step4: Download the driver
Method 1: Online installation (Raspberry Pi needs to be connected to the Internet)
Run:
Tips: For Kali Linux, you need to mount boot, run: mount /dev/mmcblk0p1 /boot/
And next:
Run:
Method 2: Offline installation
Download LCD-show.zip Unzip 'LCD-show.zip' and copy the folder to the root directory of Raspberry Pi after flashing the image.
Run:
Step5: Rebot
The screen should be working now. 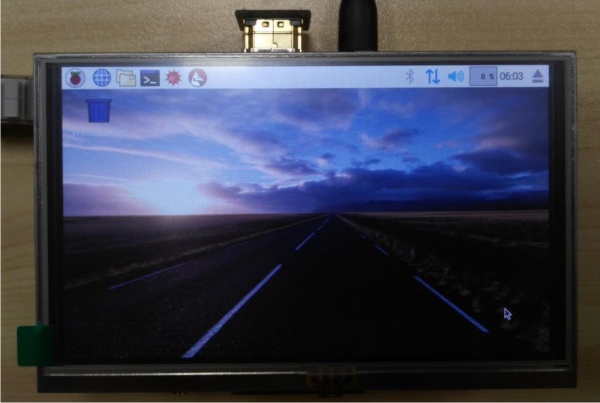
Touch screen calibration
Old Version
Install the xinput-calibrator
Run:
sudo apt-get install -y xinput-calibrator
And next:
- Click the Men button on the task bar, choose Preference -> Calibrate Touchscreen.
- Finish the touch calibration following the prompts. Maybe rebooting is required to make calibration active.
- You can create a 99-calibration.conf file to save the touch parameters (not necessary if file exists).
- Save the touch parameters (may differ depending on LCD) to 99-calibration.conf, as shown in the picture:
