CrowPanel ESP32 4.3-inch with ESPHome
Overview
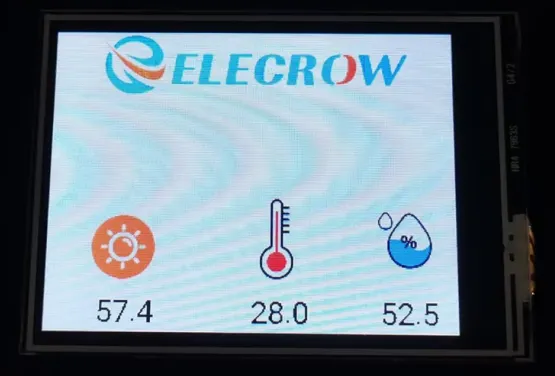
This tutorial will show you how to add the ESP32 Display to the ESPHome and how to view the detected data in the ESPHome. You also can control the ESP32 Display brightness icon on and off in the ESPHome.
Hardware Preparation
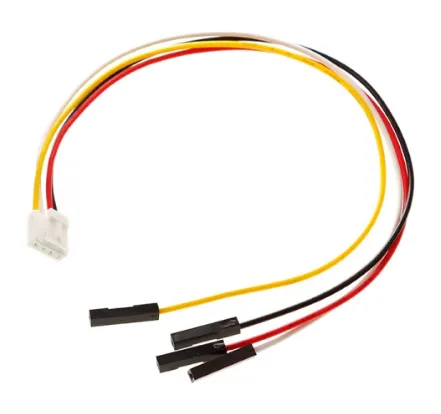
| CrowPanel ESP32 4.3'' HMI | Crowtail-DHT20 | Crowtail- Digital Light Sensor 2.0 | Dupont-wire |
|---|---|---|---|
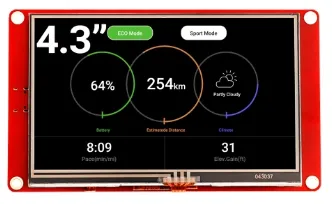 | 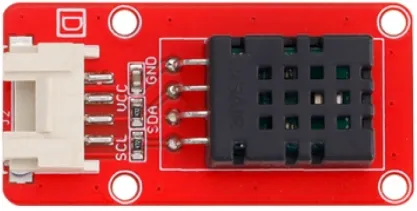 | 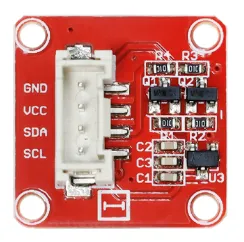 |  |
 |  |  |  |
Build the Project with ESPHome
Get Started with ESPHome
Please click the card below to learn how to install the Home Assistant, and how to burn the bin file.
After successfully burning the bin file, return to the ESPHome page of the Home Assistant. Reboot the ESP32 display, we can see that the upper right corner of the device created before displays 'ONLINE'.
-
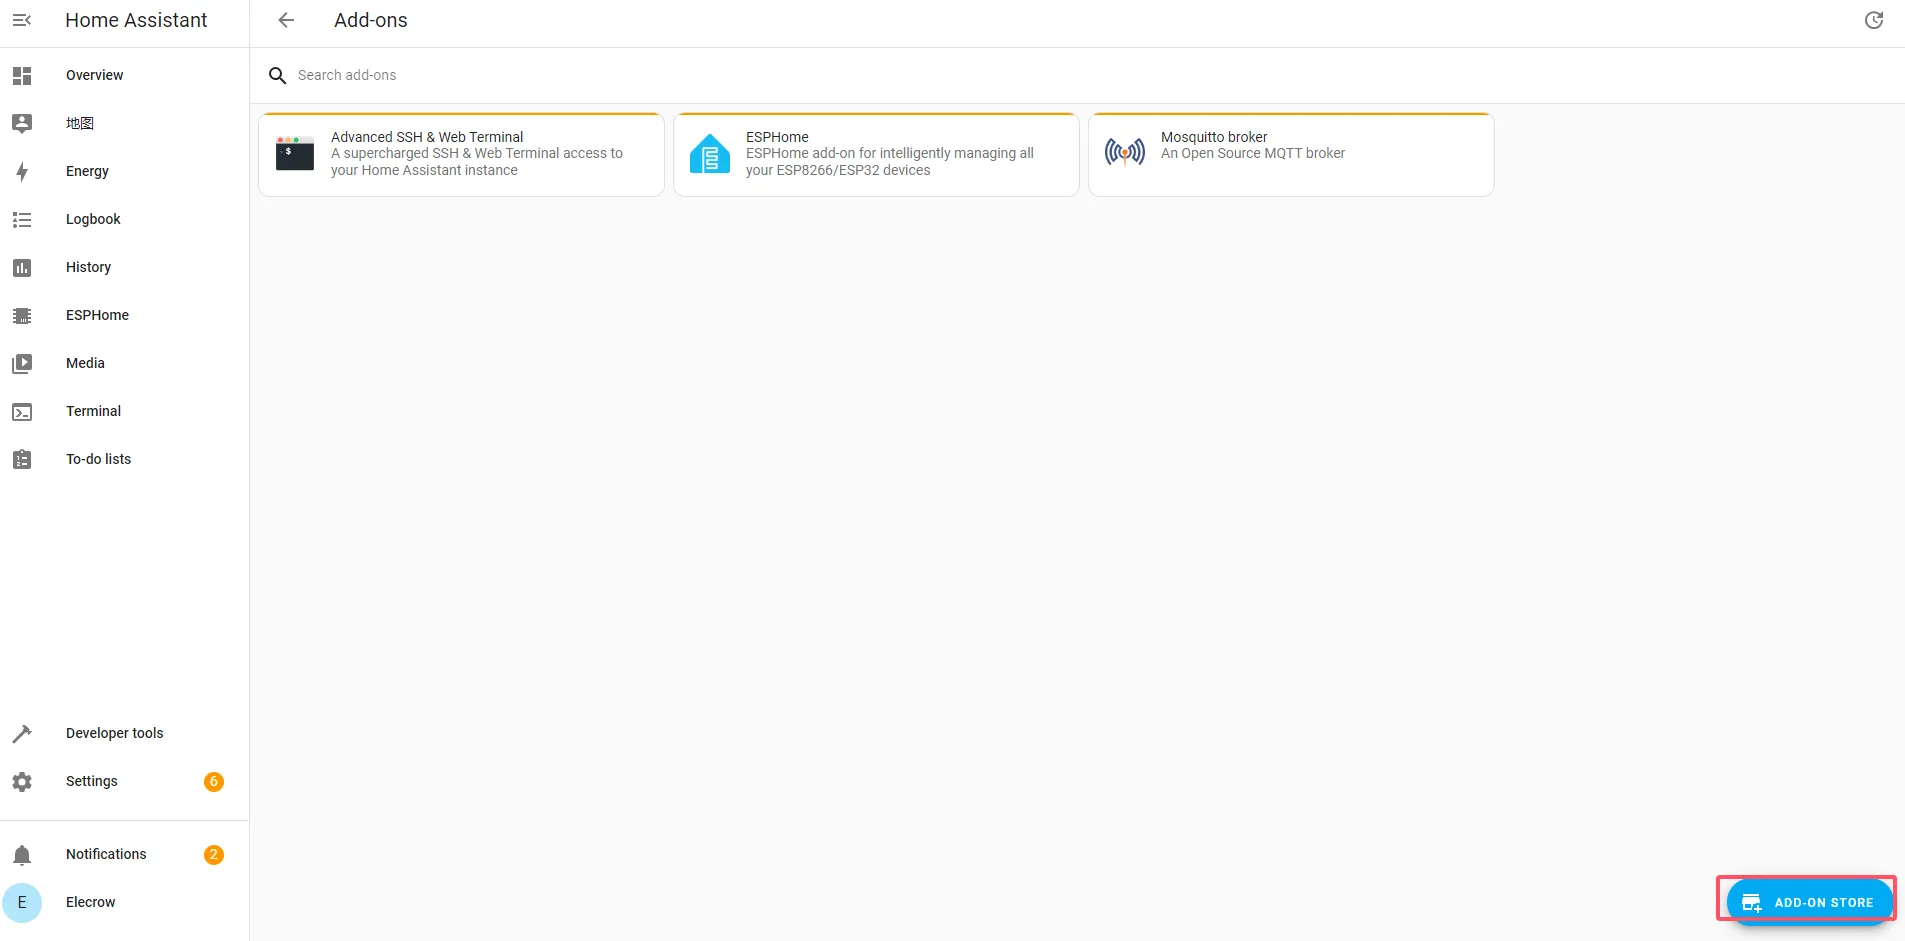
Before writing the code, we need to import the material we want to use. First, we need to add a tool. Select 'Settings'→'ADD-ON STORE'
-
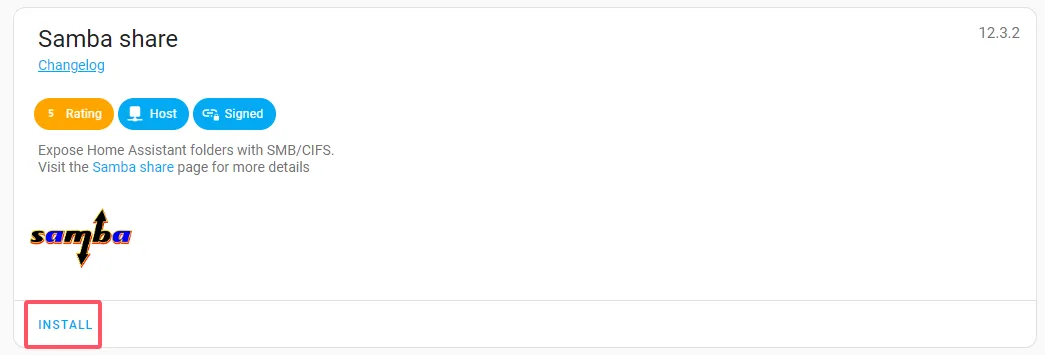
Then enter 'Samba share' and click 'INSTALL'.
-
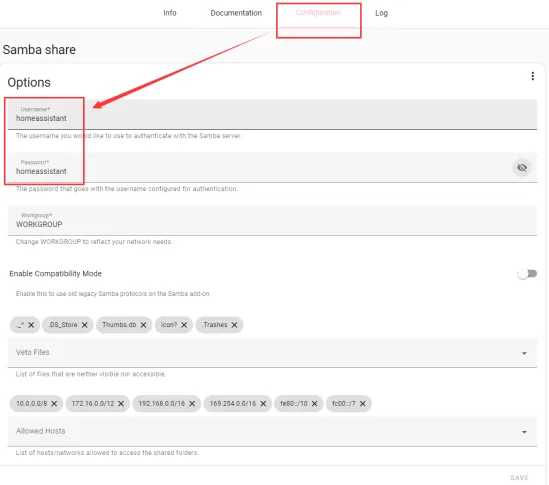
Next, select 'Configuration' and set up your account.
-
Enter the IP Address (We mentioned the IP address in Get Started with ESPHome's Connect the Raspberry Pi) in the path bar and select 'config'→'esphome'. Put the materials.zip into the 'esphome' file. Remember to unzip Materials.zip
-
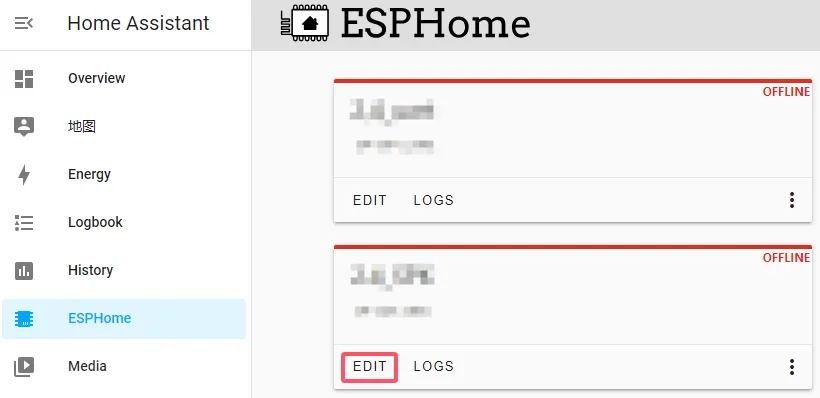
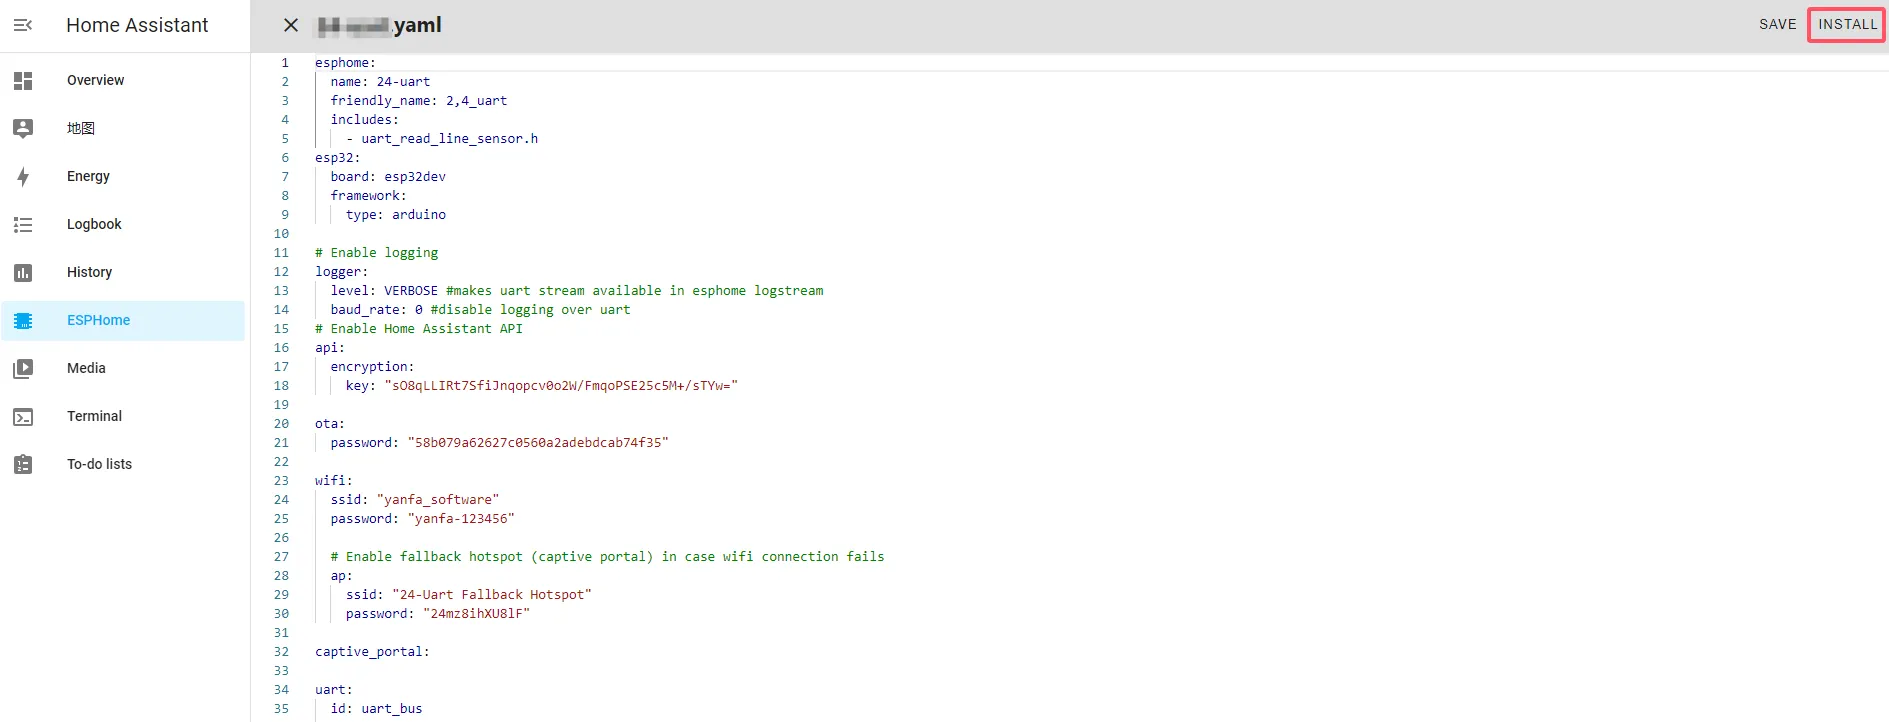
Select 'EDIT' to edit the program. You can click
 to download the complete project we provided. If you want to use other functions, you can also modify the program.
 -
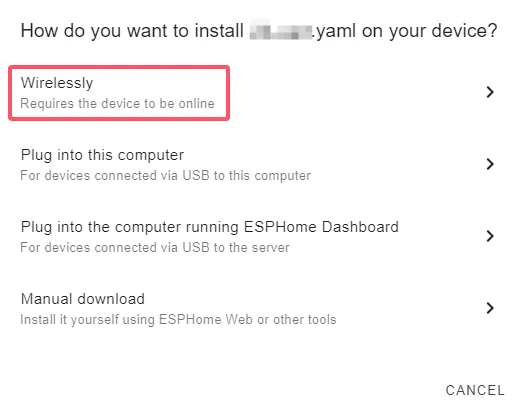
Once the program is edited, click 'INSTALL' and select 'Wirelessly'. This way is very convenient for us.
-
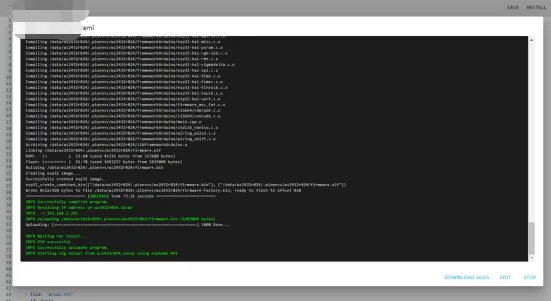
The following interface will appear after successful burning.
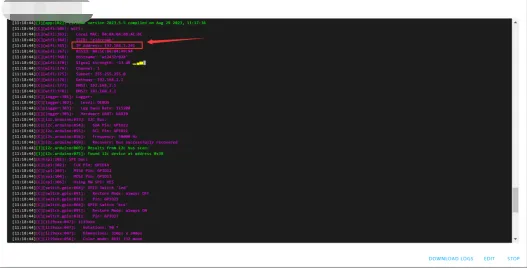
We slide the wheel on the mouse to see the IP address of the ESP32 Display and remember it.
-
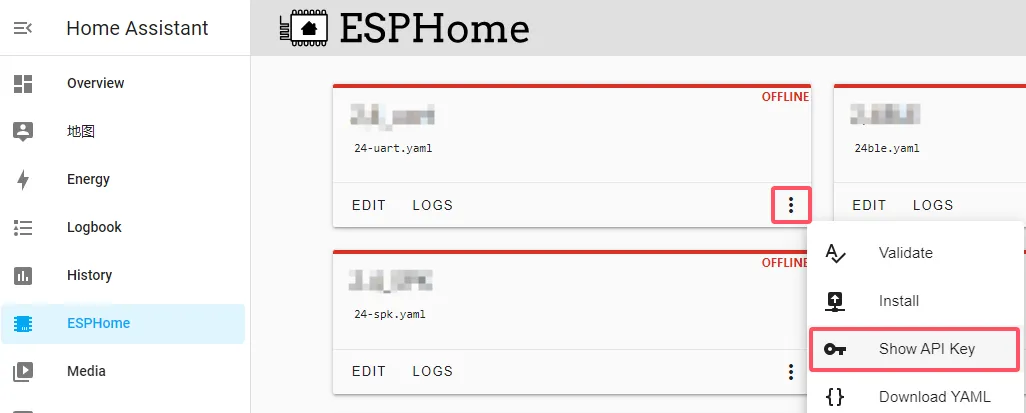
In addition to the IP address, we also need to remember the API.
Add the device to the ESPHome
-
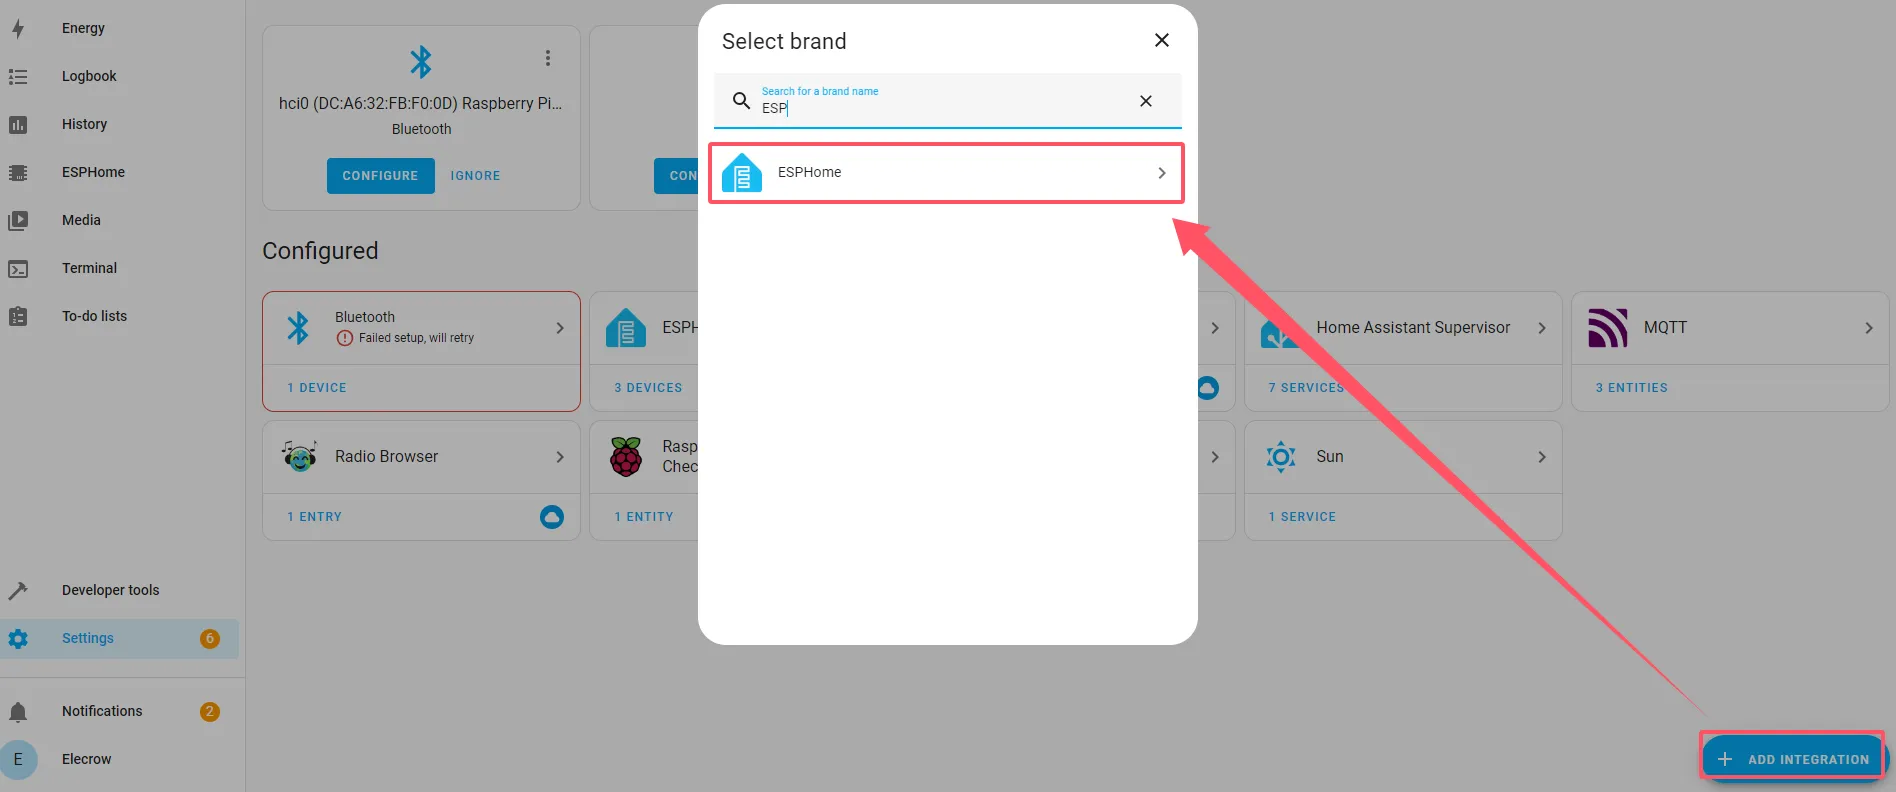
Click 'Settings'→ 'Devices & services'→ 'ADD INTEGRATION', entry 'ESPHome' and click it.
-
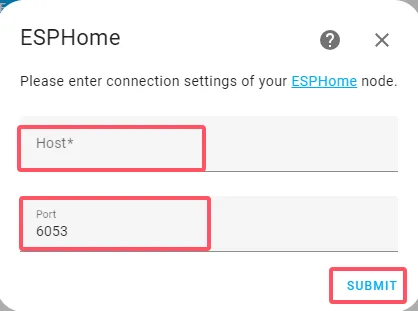
The IP address, which was just asked to remember and enter in the 'Host*'. 'Port' is automatically generated.
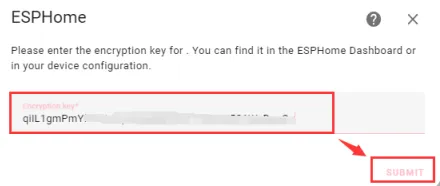
Enter the API was just asked to remember.
-
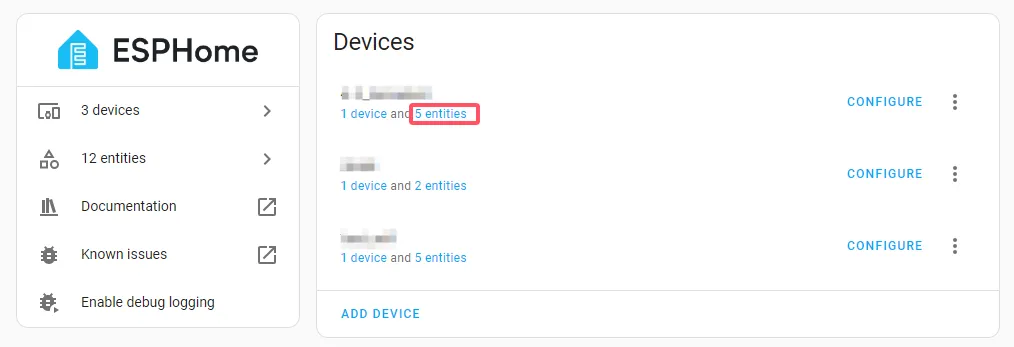
Then we can see the device we just added. Click 'x entities', and we can view the features available on the device.
-
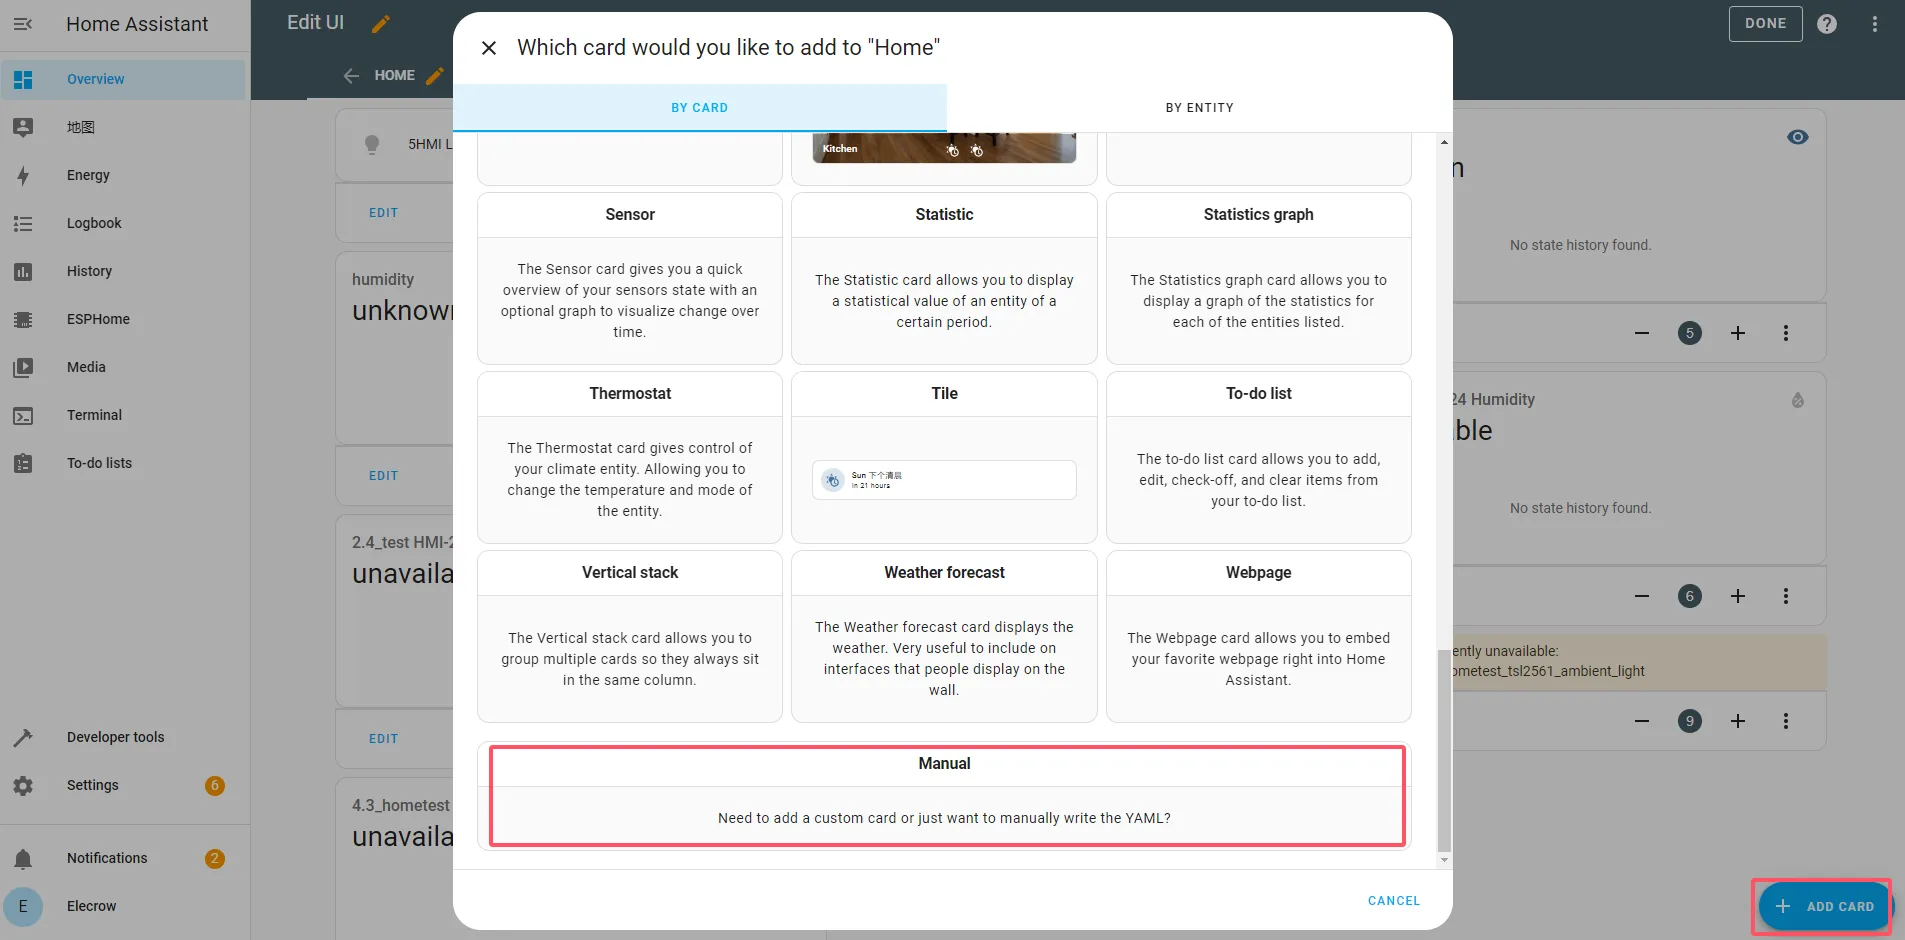
Now add a card to view the data detected in real time.
The added card will automatically generate the functions we set. The set function is to detect temperature, humidity and brightness.
Examples
You can click  to download the examples we provided.
-
UART
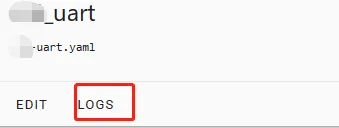
Connect the UART port of the ESP32 Display to the PC. You can view the data received by the ESP32 Display from the LOG.
-
SPK
Connect a speaker to the ESP32 Display SPK port. After a piece of music is played, you can view the printed information in LOG.
-
BLE
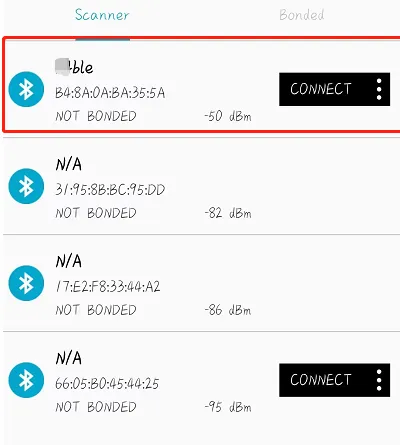
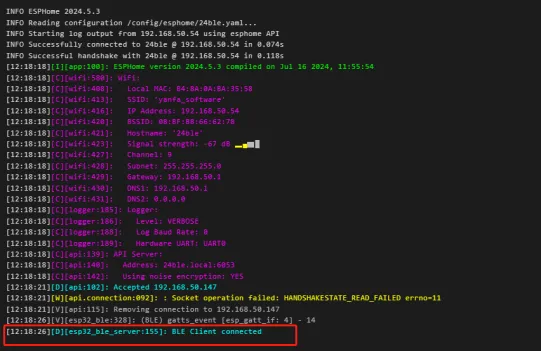
Connect your phone's Bluetooth to the Bluetooth of the ESP32 Display. You can check whether the connection is successful in LOG.
-
Touch
Read the position of the touch on the ESP32 Display by looking at the LOG.
-
IIC
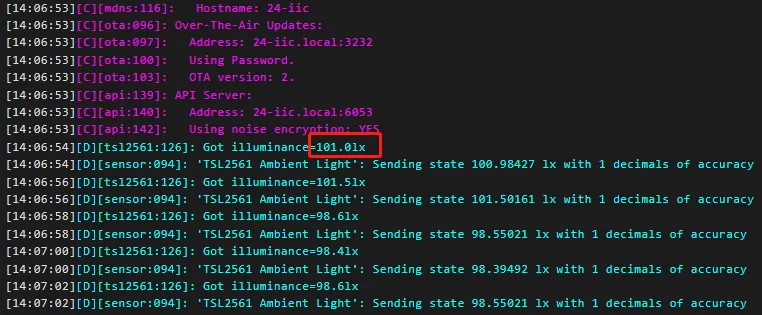
Connect the digital light sensor to the IIC port of the ESP32 Display. Check the brightness value in LOG.
-
GPIO
Connect the LED to GPIO_D-IO38 of the ESP32 Display.
